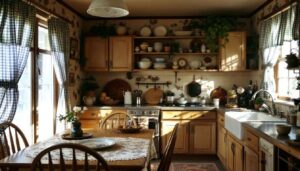

Kitchen cabinets play a crucial role in defining the overall aesthetic and functionality of any culinary space. When a full replacement falls outside financial constraints, homeowners can still achieve remarkable transformations through strategic upgrades. These cost-effective methods deliver impressive results without requiring extensive renovations or significant financial investments, making them ideal solutions for those seeking to refresh their kitchen’s appearance while maintaining budgetary discipline.
Painting cabinet doors
Choosing the right paint type
Selecting high-quality paint stands as the foundation for a successful cabinet transformation. Oil-based paints offer exceptional durability and a smooth finish, while water-based alternatives provide easier cleanup and faster drying times. Semi-gloss or satin finishes work particularly well for kitchen environments, as they resist moisture and allow for effortless cleaning. Homeowners should prioritize paints specifically formulated for cabinetry to ensure proper adhesion and longevity.
Preparing surfaces properly
Thorough preparation determines the final outcome of any painting project. The process involves several critical steps:
- Removing all cabinet doors and hardware
- Cleaning surfaces with a degreasing solution
- Sanding existing finishes to create texture
- Filling any dents or imperfections with wood filler
- Applying a quality primer coat
Application techniques for professional results
Professional-looking results require patience and proper technique. Using a high-density foam roller combined with a quality brush for detailed areas produces the smoothest finish. Multiple thin coats prove superior to single heavy applications, reducing the risk of drips and uneven coverage. Allowing adequate drying time between coats ensures optimal adhesion and prevents premature wear.
Beyond visual transformation, painted cabinets can completely alter the perceived size and brightness of a kitchen space, setting the stage for additional enhancement opportunities.
Adding modern handles and knobs
Understanding current hardware trends
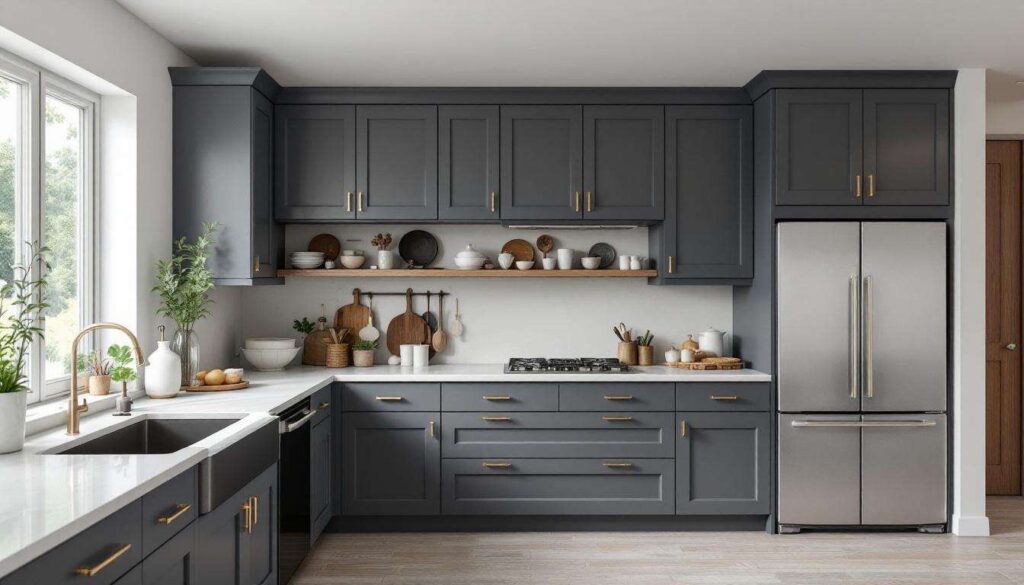
Cabinet hardware serves as jewelry for kitchen cabinetry, capable of instantly modernizing outdated designs. Contemporary trends favor minimalist bar pulls in matte black, brushed brass, or polished nickel finishes. Geometric shapes and clean lines dominate current design preferences, replacing ornate traditional styles with streamlined alternatives that complement various aesthetic directions.
Measuring and installing correctly
Proper installation requires precision to maintain visual consistency across all cabinets. For drawer pulls, standard placement positions hardware horizontally centered and approximately one inch from the top edge. Cabinet door handles typically mount vertically on the side opposite the hinges. Creating a template ensures uniform placement throughout the kitchen, preventing costly mistakes and maintaining professional appearance standards.
Mixing finishes strategically
Combining different hardware finishes adds depth and visual interest when executed thoughtfully. A popular approach pairs matte black handles with brass or copper accents on select pieces, creating focal points without overwhelming the space. This strategy works particularly well when coordinating with existing fixtures like faucets or light fixtures.
While hardware updates provide immediate visual impact, additional surface treatments can further enhance cabinet aesthetics.
Installing decorative panels
Selecting appropriate panel styles
Decorative panels transform flat cabinet doors into architectural features with minimal investment. Beadboard panels introduce cottage-style charm, while raised panel inserts create traditional elegance. Modern interpretations include geometric patterns and textured surfaces that add dimension without excessive ornamentation. Lightweight materials like MDF or thin plywood make installation manageable for DIY enthusiasts.
Installation methods and adhesives
Successful panel installation depends on proper adhesive selection and application techniques. Construction adhesive combined with finishing nails provides secure attachment while allowing for slight adjustments during positioning. The process includes:
- Measuring and cutting panels to fit within door frames
- Applying adhesive in a zigzag pattern
- Pressing panels firmly into position
- Securing with brad nails along edges
- Filling nail holes and sanding smooth
Painting or staining finished panels
Once installed, panels require finishing to integrate seamlessly with existing cabinetry. Matching existing colors creates cohesive appearance, while contrasting finishes highlight the new architectural details. Applying primer before final coats ensures even color distribution and professional results that withstand daily kitchen activities.
For those seeking even simpler solutions, adhesive options offer quick transformations without permanent modifications.
Using adhesive films
Exploring available film options
Self-adhesive films provide versatile solutions for cabinet resurfacing without paint or professional installation. Available in countless patterns, colors, and textures, these products mimic wood grain, solid colors, or contemporary patterns. High-quality vinyl films offer durability and heat resistance suitable for kitchen environments, lasting several years with proper care.
Application process and techniques
Achieving bubble-free application requires methodical approach and proper tools. Clean, smooth surfaces ensure optimal adhesion. Using a squeegee or credit card to smooth film from center outward eliminates air pockets. Working in sections prevents premature adhesion and allows for repositioning if needed. Trimming excess material with sharp utility knives creates clean edges and professional appearance.
Maintenance and longevity considerations
Adhesive films require gentle cleaning methods to preserve appearance and adhesion. Avoiding abrasive cleaners and excessive moisture protects the film surface. Quality products maintain appearance for three to five years, making them cost-effective temporary solutions or testing grounds for color choices before committing to permanent changes.
Strategic lighting additions can further amplify the impact of these surface improvements.
Optimizing cupboard lighting
Types of cabinet lighting solutions
Under-cabinet lighting transforms functionality and ambiance while highlighting cabinet upgrades. LED strip lights offer energy-efficient continuous illumination, while puck lights provide focused task lighting. Battery-operated options eliminate electrical work, making installation accessible for all skill levels. Motion-activated systems add convenience and energy savings by illuminating only when needed.
Installation locations for maximum impact
Strategic placement maximizes both practical and aesthetic benefits. Under-cabinet mounting illuminates countertop work surfaces while creating ambient glow. Interior cabinet lighting showcases glassware or decorative items behind glass doors. Toe-kick lighting adds dramatic effect and improves nighttime navigation. Combining multiple lighting types creates layered illumination that enhances kitchen atmosphere throughout different times and activities.
Color temperature selection
Light color temperature significantly affects kitchen ambiance and functionality. Warm white (2700-3000K) creates inviting atmosphere suitable for entertaining spaces. Cool white (4000-5000K) provides crisp, bright illumination ideal for food preparation areas. Adjustable systems allow customization based on time of day or specific activities, offering maximum flexibility.
Interior cabinet treatments present another opportunity for creative enhancement without major investment.
Enhancing shelves with wallpaper
Choosing suitable wallpaper patterns
Wallpaper application to cabinet interiors or backing creates unexpected visual interest when doors open. Small-scale patterns work best in confined spaces, preventing overwhelming effects. Geometric designs, subtle florals, or textured papers add personality without competing with kitchen contents. Removable wallpaper options allow for easy updates and prevent damage to cabinet surfaces.
Measuring and cutting accurately
Precise measurements ensure professional appearance and minimize waste. Adding one inch to all dimensions allows for trimming adjustments. Creating templates from kraft paper helps visualize final appearance before cutting expensive wallpaper. Cutting straight edges using metal straightedges and sharp blades produces clean lines that fit precisely within cabinet spaces.
Application and securing methods
Different wallpaper types require specific application approaches. Peel-and-stick varieties offer simplest installation, while traditional papers need adhesive application. For cabinet interiors, the process includes:
- Cleaning and drying all surfaces thoroughly
- Applying wallpaper from top to bottom
- Smoothing out bubbles with plastic smoothing tool
- Trimming excess material at edges
- Sealing edges if using traditional wallpaper
This technique particularly shines in glass-front cabinets where backing becomes visible focal point, adding depth and character to displayed items.
Kitchen cabinet upgrades need not require extensive budgets or complete replacements to achieve dramatic improvements. Painting cabinet doors provides foundational transformation while new hardware delivers instant modernization. Decorative panels add architectural interest, and adhesive films offer quick, reversible changes. Strategic lighting enhances both functionality and atmosphere, while wallpaper accents introduce personality to interior spaces. These accessible methods empower homeowners to refresh their kitchens affordably, creating spaces that reflect current styles and personal preferences without financial strain. Implementing even one or two of these strategies produces noticeable results, proving that thoughtful updates often surpass costly renovations in delivering satisfaction and renewed enjoyment of kitchen spaces.