


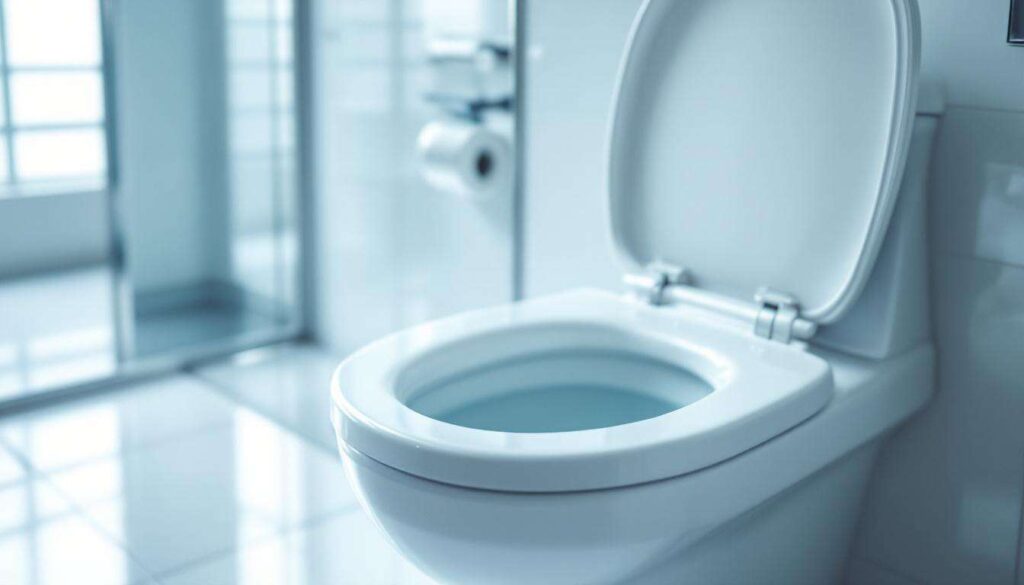
Every homeowner knows the importance of keeping a bathroom clean, but many forget about the toilet tank hidden behind the bowl. This often-neglected component plays a crucial role in your toilet’s performance and can harbor bacteria, mineral deposits, and mold if left unattended. Regular maintenance of this area not only improves water quality but also prevents costly repairs and ensures optimal flushing efficiency. Understanding the proper cleaning techniques will help you maintain a healthier bathroom environment while extending the lifespan of your plumbing fixtures.
Why cleaning the toilet tank is essential
Health and hygiene concerns
The toilet tank creates an ideal environment for bacterial growth and mold development due to constant moisture and darkness. When left uncleaned, these microorganisms can contaminate the water that flows into your bowl with each flush. This contamination poses potential health risks, particularly for households with young children or individuals with compromised immune systems. Regular cleaning eliminates these harmful organisms and maintains a sanitary bathroom environment.
Impact on toilet performance
Mineral deposits from hard water accumulate inside the tank over time, affecting the functionality of internal components. These buildups can cause several issues:
- Reduced flushing power and incomplete bowl clearing
- Constant running water due to damaged flapper valves
- Corroded metal parts leading to leaks
- Increased water bills from inefficient operation
A clean tank ensures all mechanisms work smoothly, preventing unnecessary water waste and maintaining optimal performance. Addressing these issues proactively saves money on repairs and reduces environmental impact through water conservation.
Beyond performance concerns, the appearance and longevity of your toilet components depend heavily on proper maintenance practices.
The necessary tools for an effective cleaning
Essential cleaning supplies
Gathering the right materials before starting makes the cleaning process efficient and thorough. The basic supplies include:
- Rubber gloves for hand protection
- Distilled white vinegar as a natural cleaning agent
- Baking soda for abrasive scrubbing power
- A dedicated toilet brush or scrub brush
- Microfiber cloths or sponges for wiping surfaces
- A bucket for collecting excess water
These common household items provide effective cleaning power without harsh chemicals that could damage tank components or harm the environment.
Optional protective equipment
For those dealing with heavily soiled tanks or using commercial cleaners, additional protection enhances safety. Protective eyewear prevents splashes from reaching your eyes, while a face mask reduces inhalation of cleaning fumes. An old towel placed around the base catches drips and protects flooring from water damage during the cleaning process.
| Item | Purpose | Priority |
|---|---|---|
| Rubber gloves | Hand protection from bacteria and chemicals | Essential |
| Safety glasses | Eye protection from splashes | Recommended |
| Face mask | Respiratory protection | Optional |
| Towels | Floor protection and cleanup | Recommended |
Once you have assembled all necessary tools and protective gear, the actual cleaning process can begin with proper preparation.
Preparation before cleaning: the first crucial step
Shutting off the water supply
Locating and closing the shut-off valve prevents water from refilling the tank during cleaning. This valve typically sits on the wall or floor behind the toilet, connected to the tank by a supply line. Turn it clockwise until it stops to completely halt water flow. If the valve proves difficult to turn or appears corroded, apply gentle pressure and avoid forcing it to prevent damage.
Emptying the tank completely
After closing the valve, flush the toilet to drain water from the tank. The tank should empty almost entirely with one flush, but some residual water may remain at the bottom. Remove the tank lid carefully and set it on a towel in a safe location where it cannot fall or crack. Use a sponge or cloth to absorb remaining water, wringing it into a bucket until the tank interior is dry enough for effective cleaning.
Initial inspection
Before applying cleaning products, examine the tank interior for specific problem areas. Look for:
- Rust stains on metal components or porcelain surfaces
- Black or green mold growth in corners and crevices
- Mineral scale buildup around water lines
- Damaged or deteriorating rubber parts
This assessment helps you determine which cleaning methods to prioritize and whether any component replacement is necessary. Identifying issues early prevents more serious problems from developing over time.
With the tank properly prepared and inspected, you can now address specific staining issues that commonly plague toilet tanks.
Removing rust stains: method and precautions
Understanding rust formation
Rust develops when metal components inside the tank oxidize due to constant water exposure. Iron-rich water accelerates this process, leaving orange or brown stains on porcelain surfaces and deteriorating metal parts. Addressing rust promptly prevents it from spreading and causing permanent damage to tank components.
Effective rust removal techniques
For mild rust stains, white vinegar provides a gentle yet effective solution. Pour two to three cups directly onto stained areas and allow it to sit for at least thirty minutes. The acetic acid in vinegar dissolves rust without scratching porcelain. For stubborn stains, create a paste using baking soda and vinegar, applying it directly to affected areas and scrubbing with a non-abrasive brush.
Commercial rust removers offer stronger cleaning power for severe staining, but require careful handling. Always follow manufacturer instructions and ensure adequate ventilation when using chemical products. Never mix different cleaning chemicals, as this can create dangerous fumes.
Preventing future rust problems
Replacing corroded metal parts with plastic or stainless steel alternatives eliminates the source of rust formation. Installing a water softener reduces mineral content that contributes to corrosion. Regular cleaning every six months prevents rust from establishing a foothold in your tank.
While rust presents one challenge, mold growth requires different treatment approaches to ensure complete removal.
Cleaning mold: tips and advice
Identifying mold in toilet tanks
Mold appears as black, green, or pink discoloration in damp areas of the tank. These fungal colonies thrive in the dark, moist environment and can spread rapidly if not addressed. Pink mold, actually a bacteria called Serratia marcescens, commonly develops in toilet tanks and requires similar cleaning methods.
Safe mold removal process
Vinegar serves as an excellent natural mold killer without toxic fumes. Spray or pour undiluted white vinegar on moldy surfaces and let it sit for one hour. The acid penetrates mold colonies and kills spores at the root. Scrub treated areas thoroughly with a brush, paying special attention to corners and crevices where mold hides.
For extensive mold growth, a bleach solution provides stronger antimicrobial action. Mix one cup of bleach with one gallon of water and apply to affected areas. Allow ten minutes of contact time before scrubbing and rinsing thoroughly. Never combine bleach with vinegar or other cleaners, as this produces harmful chlorine gas.
Preventing mold recurrence
Maintaining proper ventilation in your bathroom reduces moisture that encourages mold growth. Consider these prevention strategies:
- Run exhaust fans during and after showers
- Fix any leaks promptly to eliminate excess moisture
- Clean the tank every three to six months
- Use mold-resistant tank tablets for ongoing protection
Regular maintenance proves far easier than dealing with severe mold infestations that compromise both hygiene and component integrity.
Understanding how often to perform these cleaning tasks ensures your toilet tank remains in optimal condition year-round.
Recommended frequency to maintain your tank
Standard maintenance schedule
Most households benefit from cleaning the toilet tank every six months as part of regular bathroom maintenance. This frequency prevents significant buildup of minerals, mold, and bacteria while keeping internal components functioning properly. Homes with hard water may require more frequent cleaning, approximately every three to four months, due to accelerated mineral accumulation.
Factors affecting cleaning frequency
Several variables influence how often your tank needs attention. Water quality plays the largest role, with hard water requiring more frequent intervention. Household size also matters, as higher usage increases wear on components and introduces more contaminants. Climate affects mold growth rates, with humid environments necessitating more vigilant cleaning schedules.
| Water Type | Household Size | Recommended Frequency |
|---|---|---|
| Soft water | 1-2 people | Every 6-12 months |
| Moderate hardness | 3-4 people | Every 4-6 months |
| Hard water | 5+ people | Every 3-4 months |
Signs requiring immediate attention
Certain indicators suggest your tank needs cleaning regardless of the regular schedule. Visible mold growth, rust stains, or cloudy water in the tank demand prompt action. Unusual noises, constant running, or weak flushing performance often result from mineral buildup interfering with mechanical parts. Addressing these issues immediately prevents minor problems from escalating into costly repairs.
Maintaining a clean toilet tank requires minimal effort but delivers significant benefits for bathroom hygiene and plumbing performance. The three-step process of preparation, cleaning with natural products, and addressing specific issues like rust and mold keeps your system running efficiently. Regular maintenance every three to six months, adjusted for water hardness and usage patterns, prevents buildup and extends component lifespan. By dedicating just a few minutes to this often-overlooked task, you protect your investment, reduce water waste, and ensure a healthier bathroom environment for your entire household.